

Having 32GB of memory isn’t a novelty in today’s tech world. We’ve had powerful desktop machines and servers with such capabilities for some time. However, the real question isn’t just about having that capacity – it’s about how we can unleash its full potential.
Enter Windows 365 Cloud PC. What sets it apart isn’t just the provision of 32GB of memory, but how this memory is optimized within a cloud-based framework. This cloud integration means you have virtually unlimited, scalable resources at your fingertips. It’s the combined power of a robust physical machine with the accessibility and flexibility of the cloud.
Running virtual machines is one way to tap into this potential. These virtual environments can utilize a significant portion of memory, allowing you to create sophisticated, isolated instances for software testing, development, and deployment. In essence, the memory becomes a gateway to a sandbox where innovation is not just possible, but encouraged.
Moreover, the ability to run high-demand applications smoothly and efficiently, paired with the ease of resource management that comes with a cloud-based system, can significantly boost productivity. It’s like having a supercomputer in your pocket, ready to be accessed anytime, anywhere.
I will show 3 scenarios:
- Scenario 1: Windows and Office Deployment Lab Kit
- Scenario 2: Windows 11 Development Environment
- Scenario 3: Windows Sandbox for Software Package Testing (incl. Damien Van Robaeys right-click Sandbox tool)
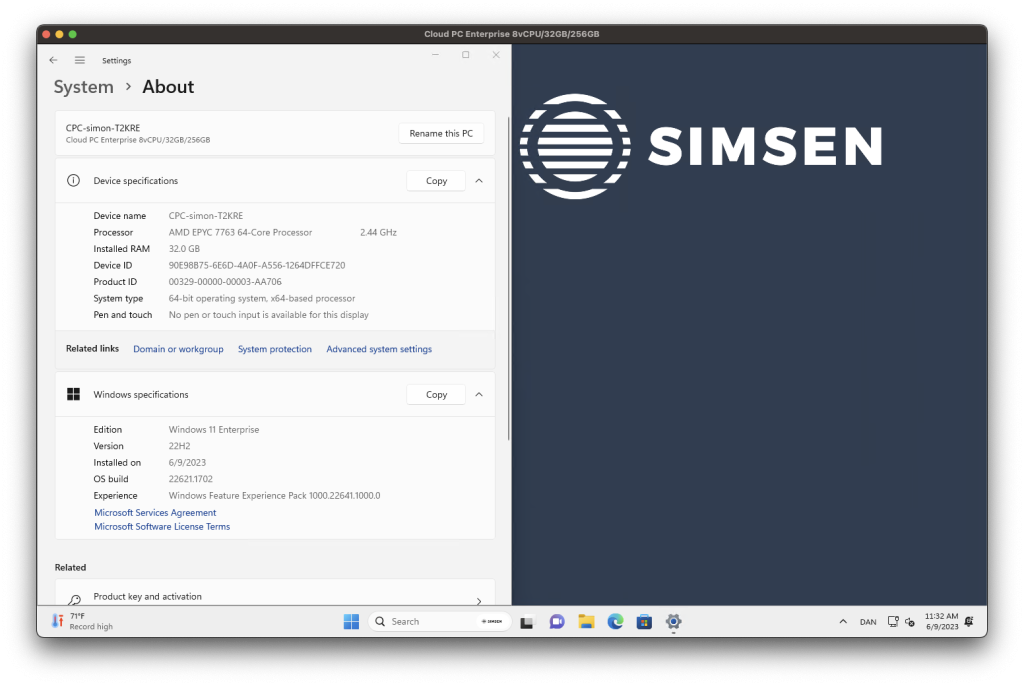
Windows 365 Enterprise 8vCPU / 32GB / 256GB
For this demonstration, I’ve set up a potent Cloud PC which should more than meet the requirements for our outlined scenarios. However, it’s worth noting that a configuration with 4vCPU could also be viable for nested virtualization. More info here
Scenario 1: Windows and Office Deployment Lab Kit
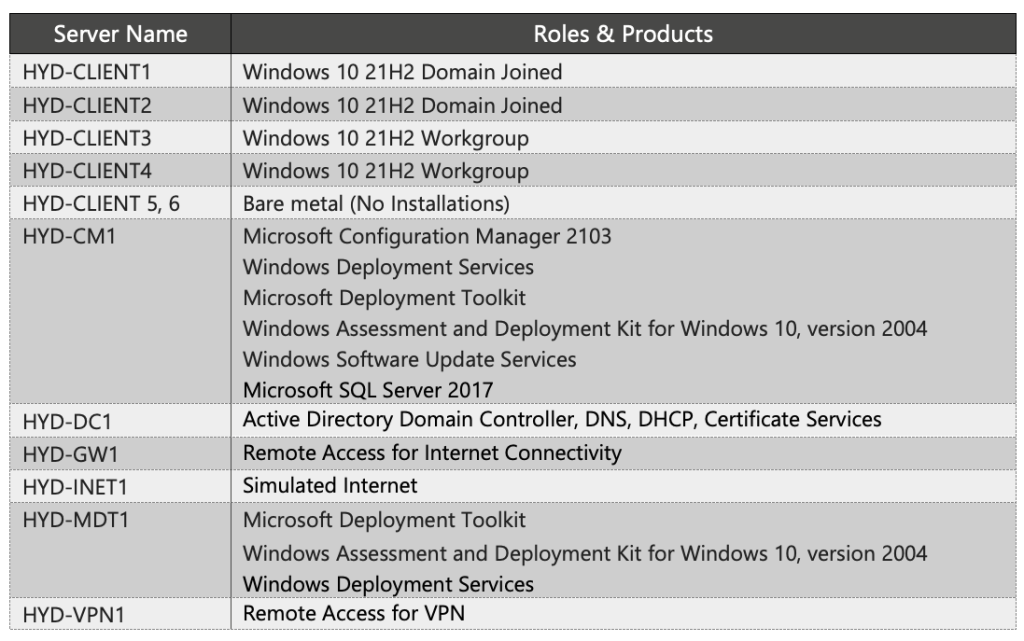
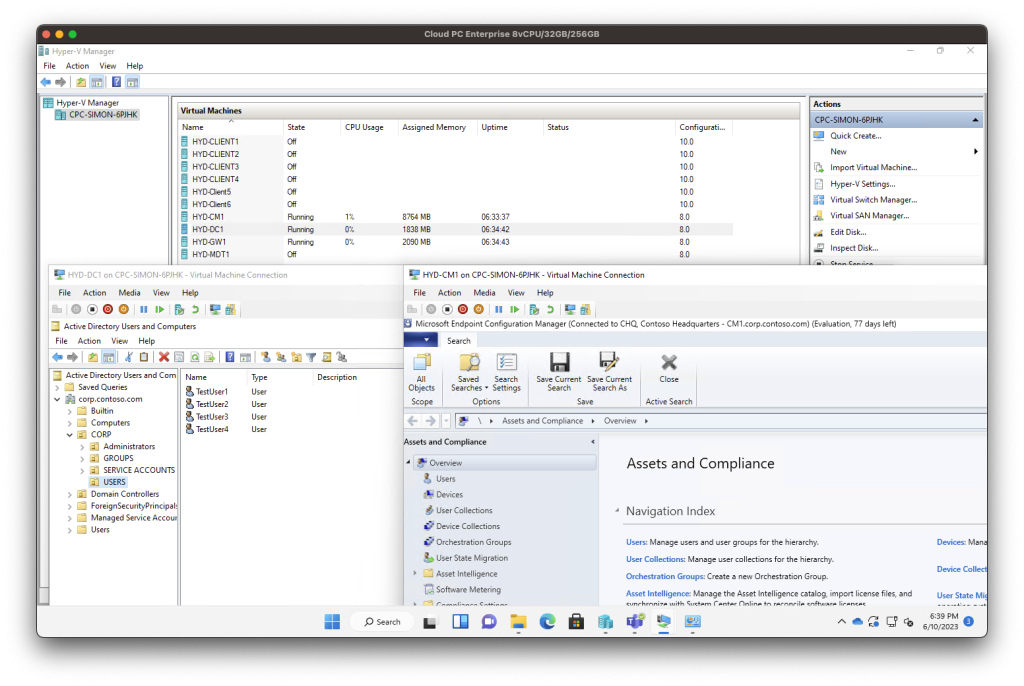
Utilize the robust 32GB memory of Windows 365 Cloud PC to download and run this comprehensive deployment kit, comprising SCCM, MDT, Domain Controller, and multiple Windows clients. Witness how it handles a great demo-setup on the move.
Step 1: Download the Lab and extract zip – 22GB
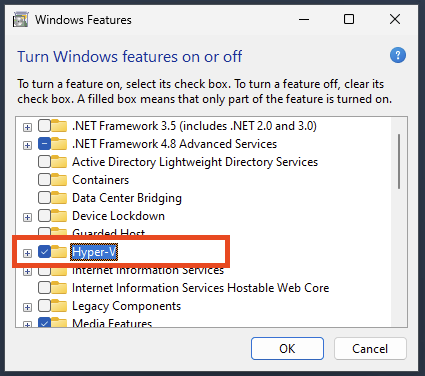
Step 2: Enable Hyper-V feature and reboot cloud pc
Step 3: Create an External Virtual Switch in Hyper-V
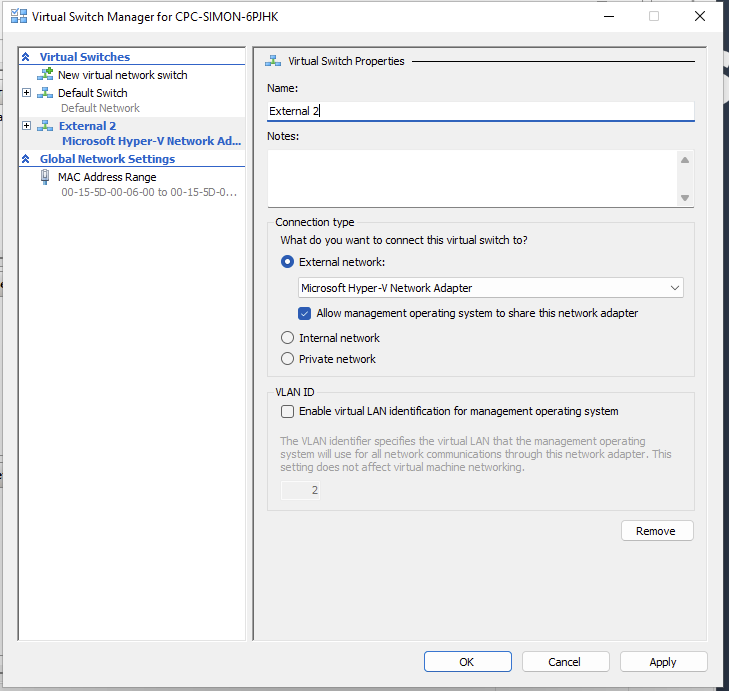 Create new network switch – called External 2. When apply, connection to Cloud PC will maybe loose.
Just recoonect.
Step 4: Install the Deployment Lab Kit – Run setup.exe
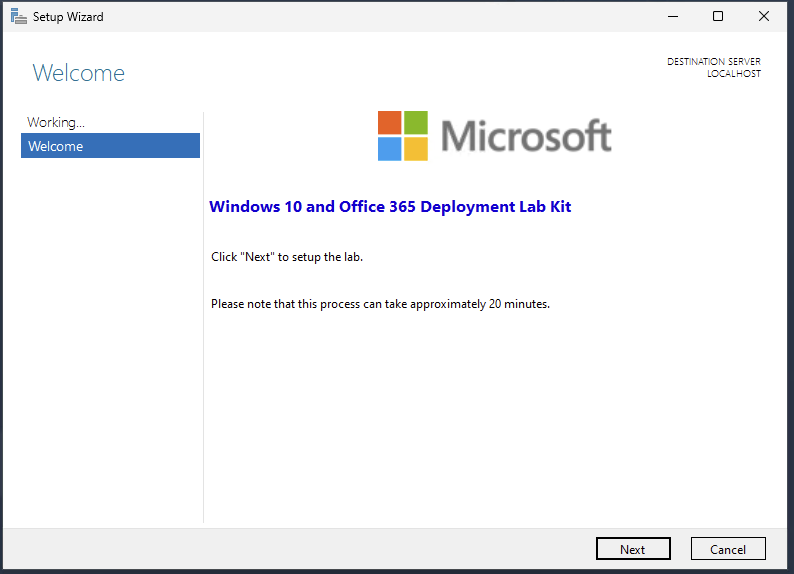 Click Next
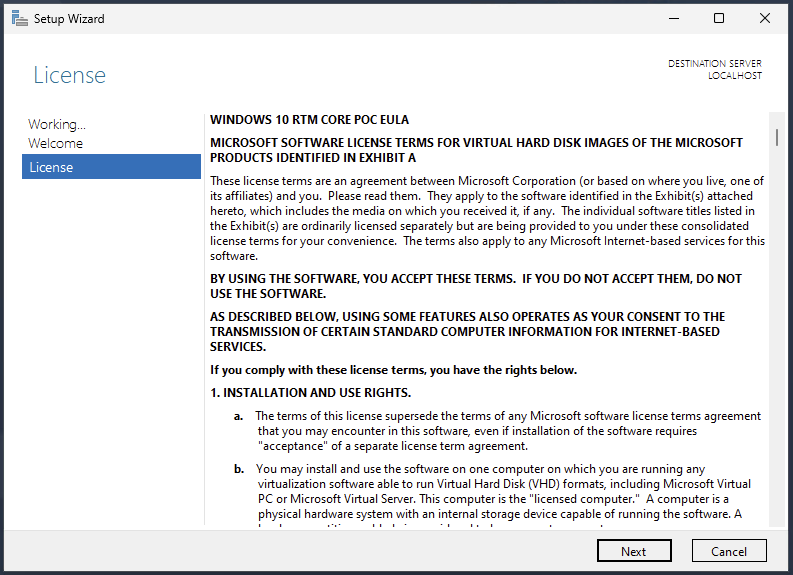 Click Next
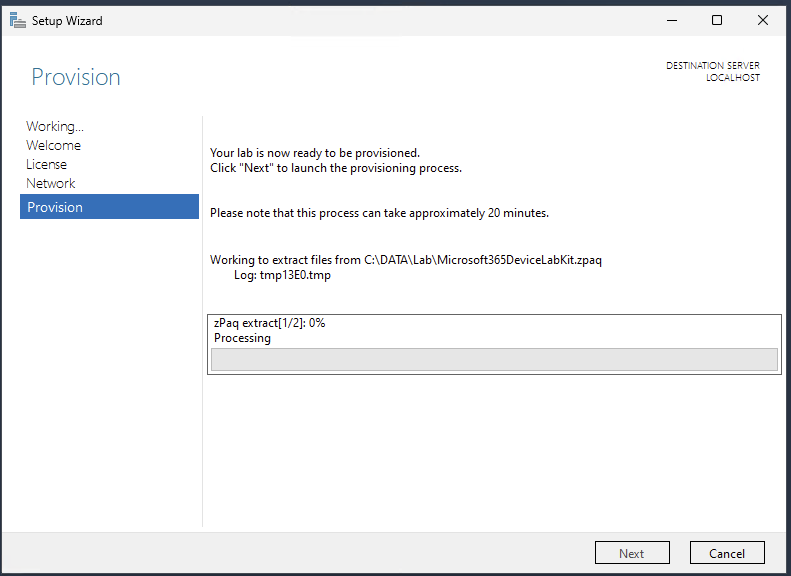 Now it is extracting all VHDs and configure Hyper-V
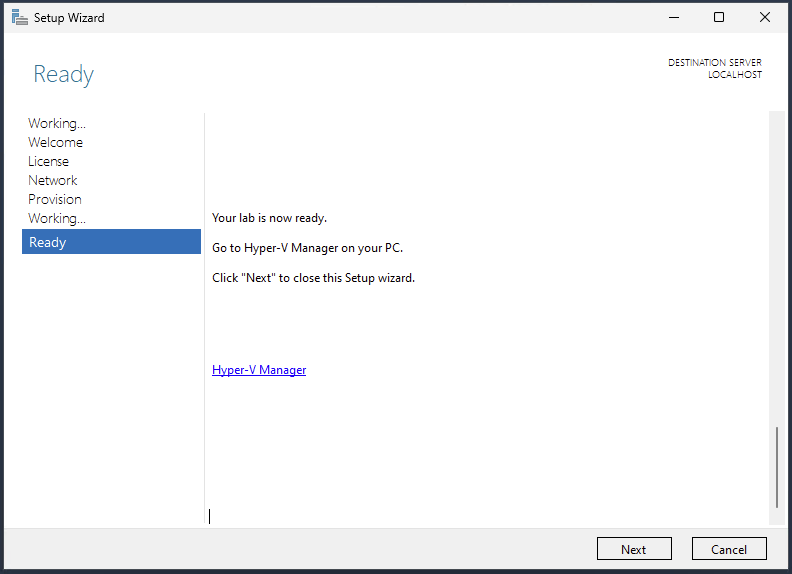 Close the prompt – and open Hyper-V manager
Lab Kit is now installed – running on Windows 365 Cloud PC
Scenario 2: Windows 11 Development Environment
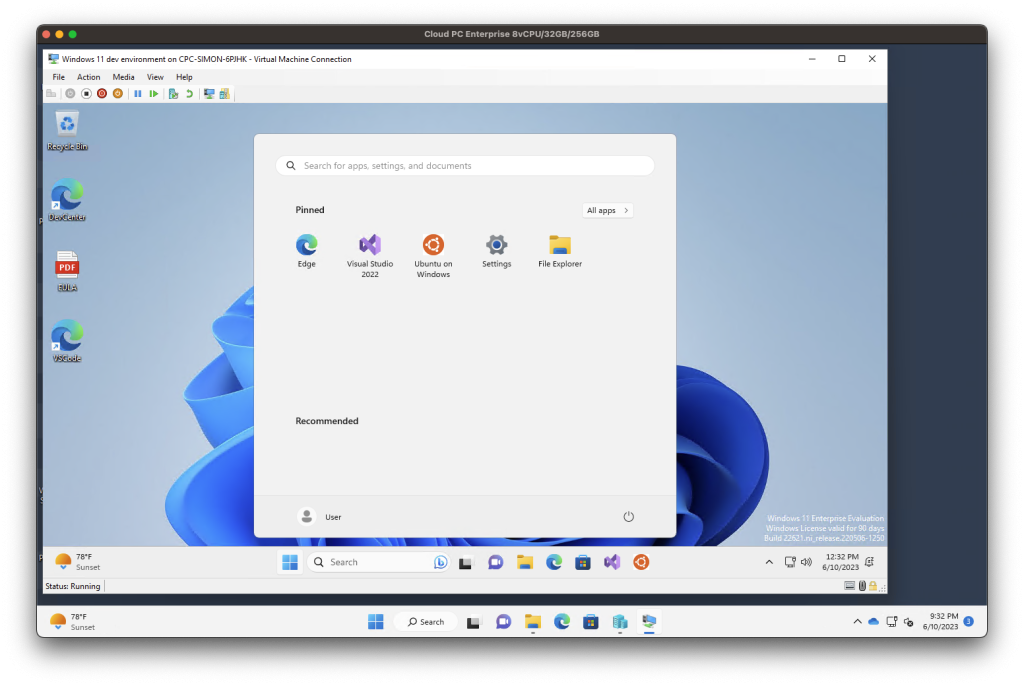
Experience a fully fledged Windows 11 development environment, equipped with Visual Studio 2022, WSL2, Windows Terminal, and developer mode enabled. The Cloud PC’s capacity is perfectly suited for this resource-intensive setup, paving the way for innovation.
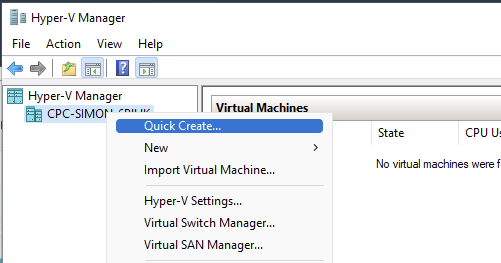
Step 1: Right Click in Hyper-V manager > Click Quick Create…
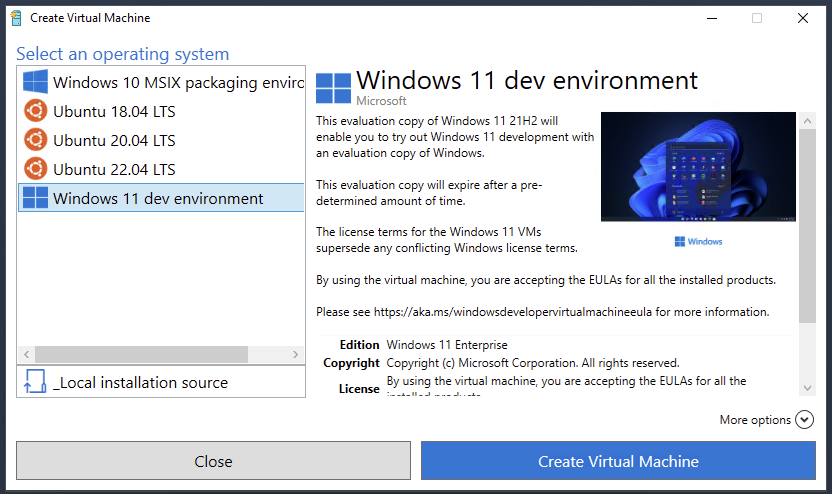
Step 2: Select Windows 11 dev environment > Click Create Virtual Machine
Windows Image can also be downloaded here: Download the image for multiple Virtualization vendors.
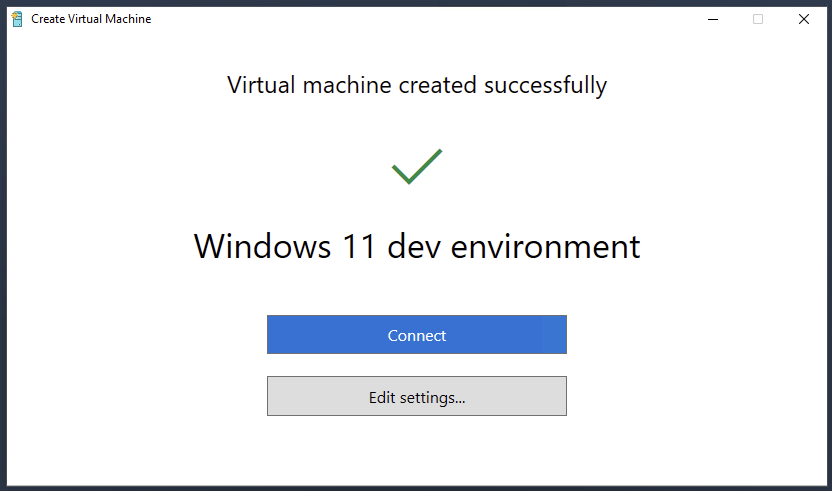
Step 3: Start and Connect – ready to use
Scenario 3: Windows Sandbox for Software Package Testing
Use Windows Sandbox to test software packages within secure, isolated environments. With the Cloud PC’s ample memory, spinning up multiple sandbox instances is a breeze, demonstrating its exceptional efficiency and resource management.
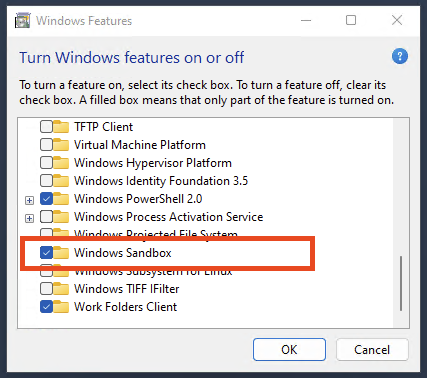
Step 1: Enable Windows Sandbox feature and reboot
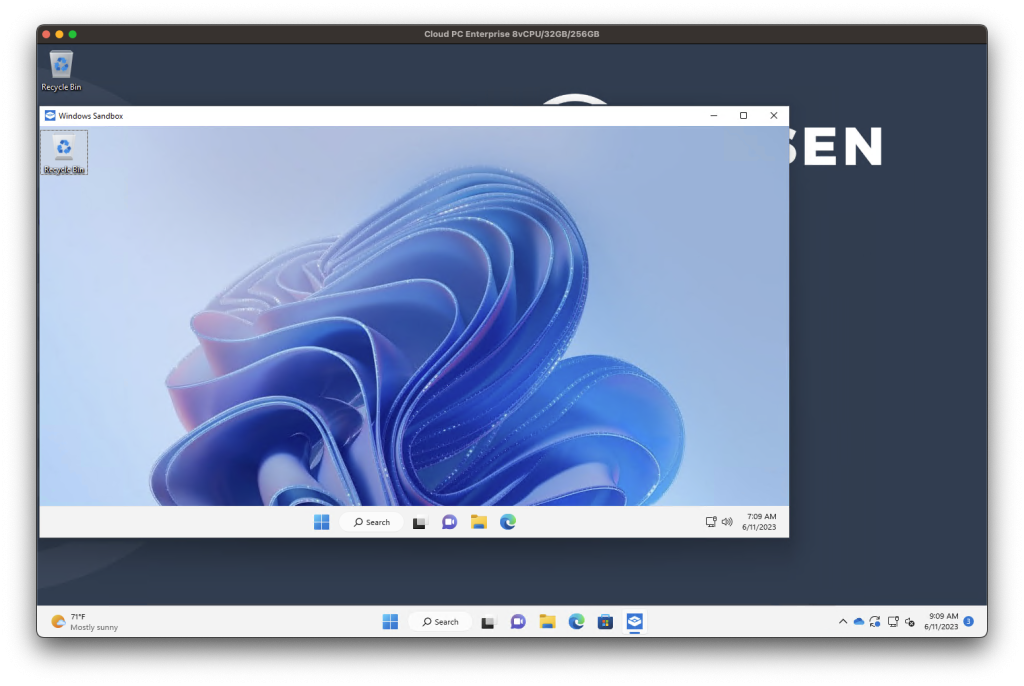
Step 2: Start Windows Sandbox
Extra: RunInSandbox Right-Click tool from Damien Van Robaeys
Damien just released this tool – so I thought it make sense also to test it on Cloud PC.
Right click directly on EXE, PS1, VBS, CMD, MSI, REG, ect. and run in Sandbox
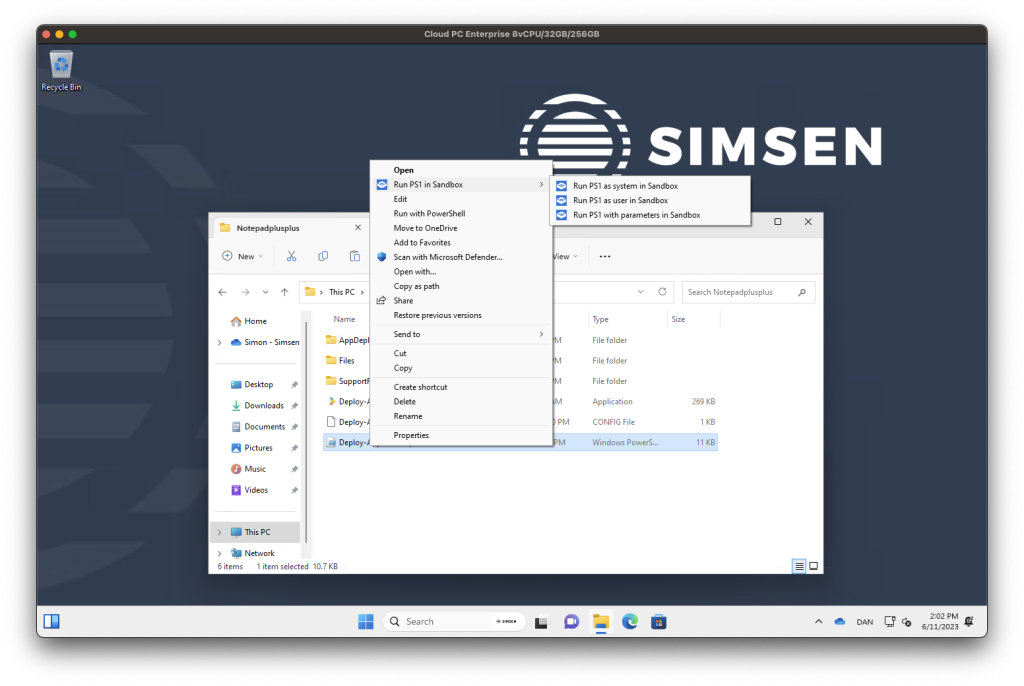
Windows Sandbox startup – and start PSAppDeployToolkit installation with Notepad++
Kudos to Damien for making this right click tool!
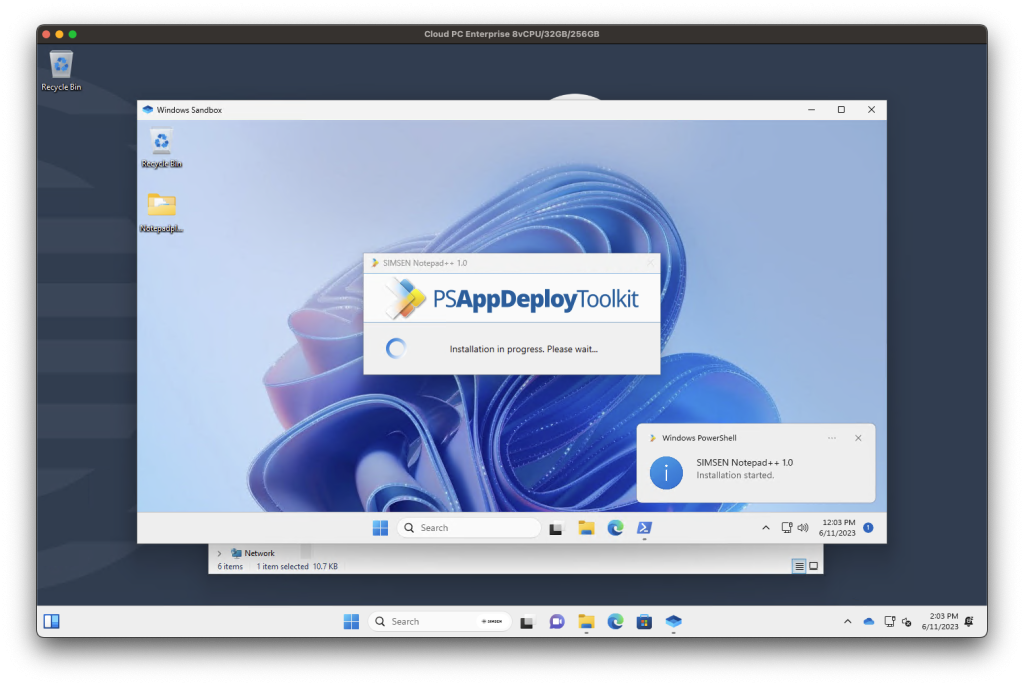 Perfect to use for software testing – and save some clicks!